Required hardware: a T20 torx screwdriver.
Installation time: 40-50 minutes
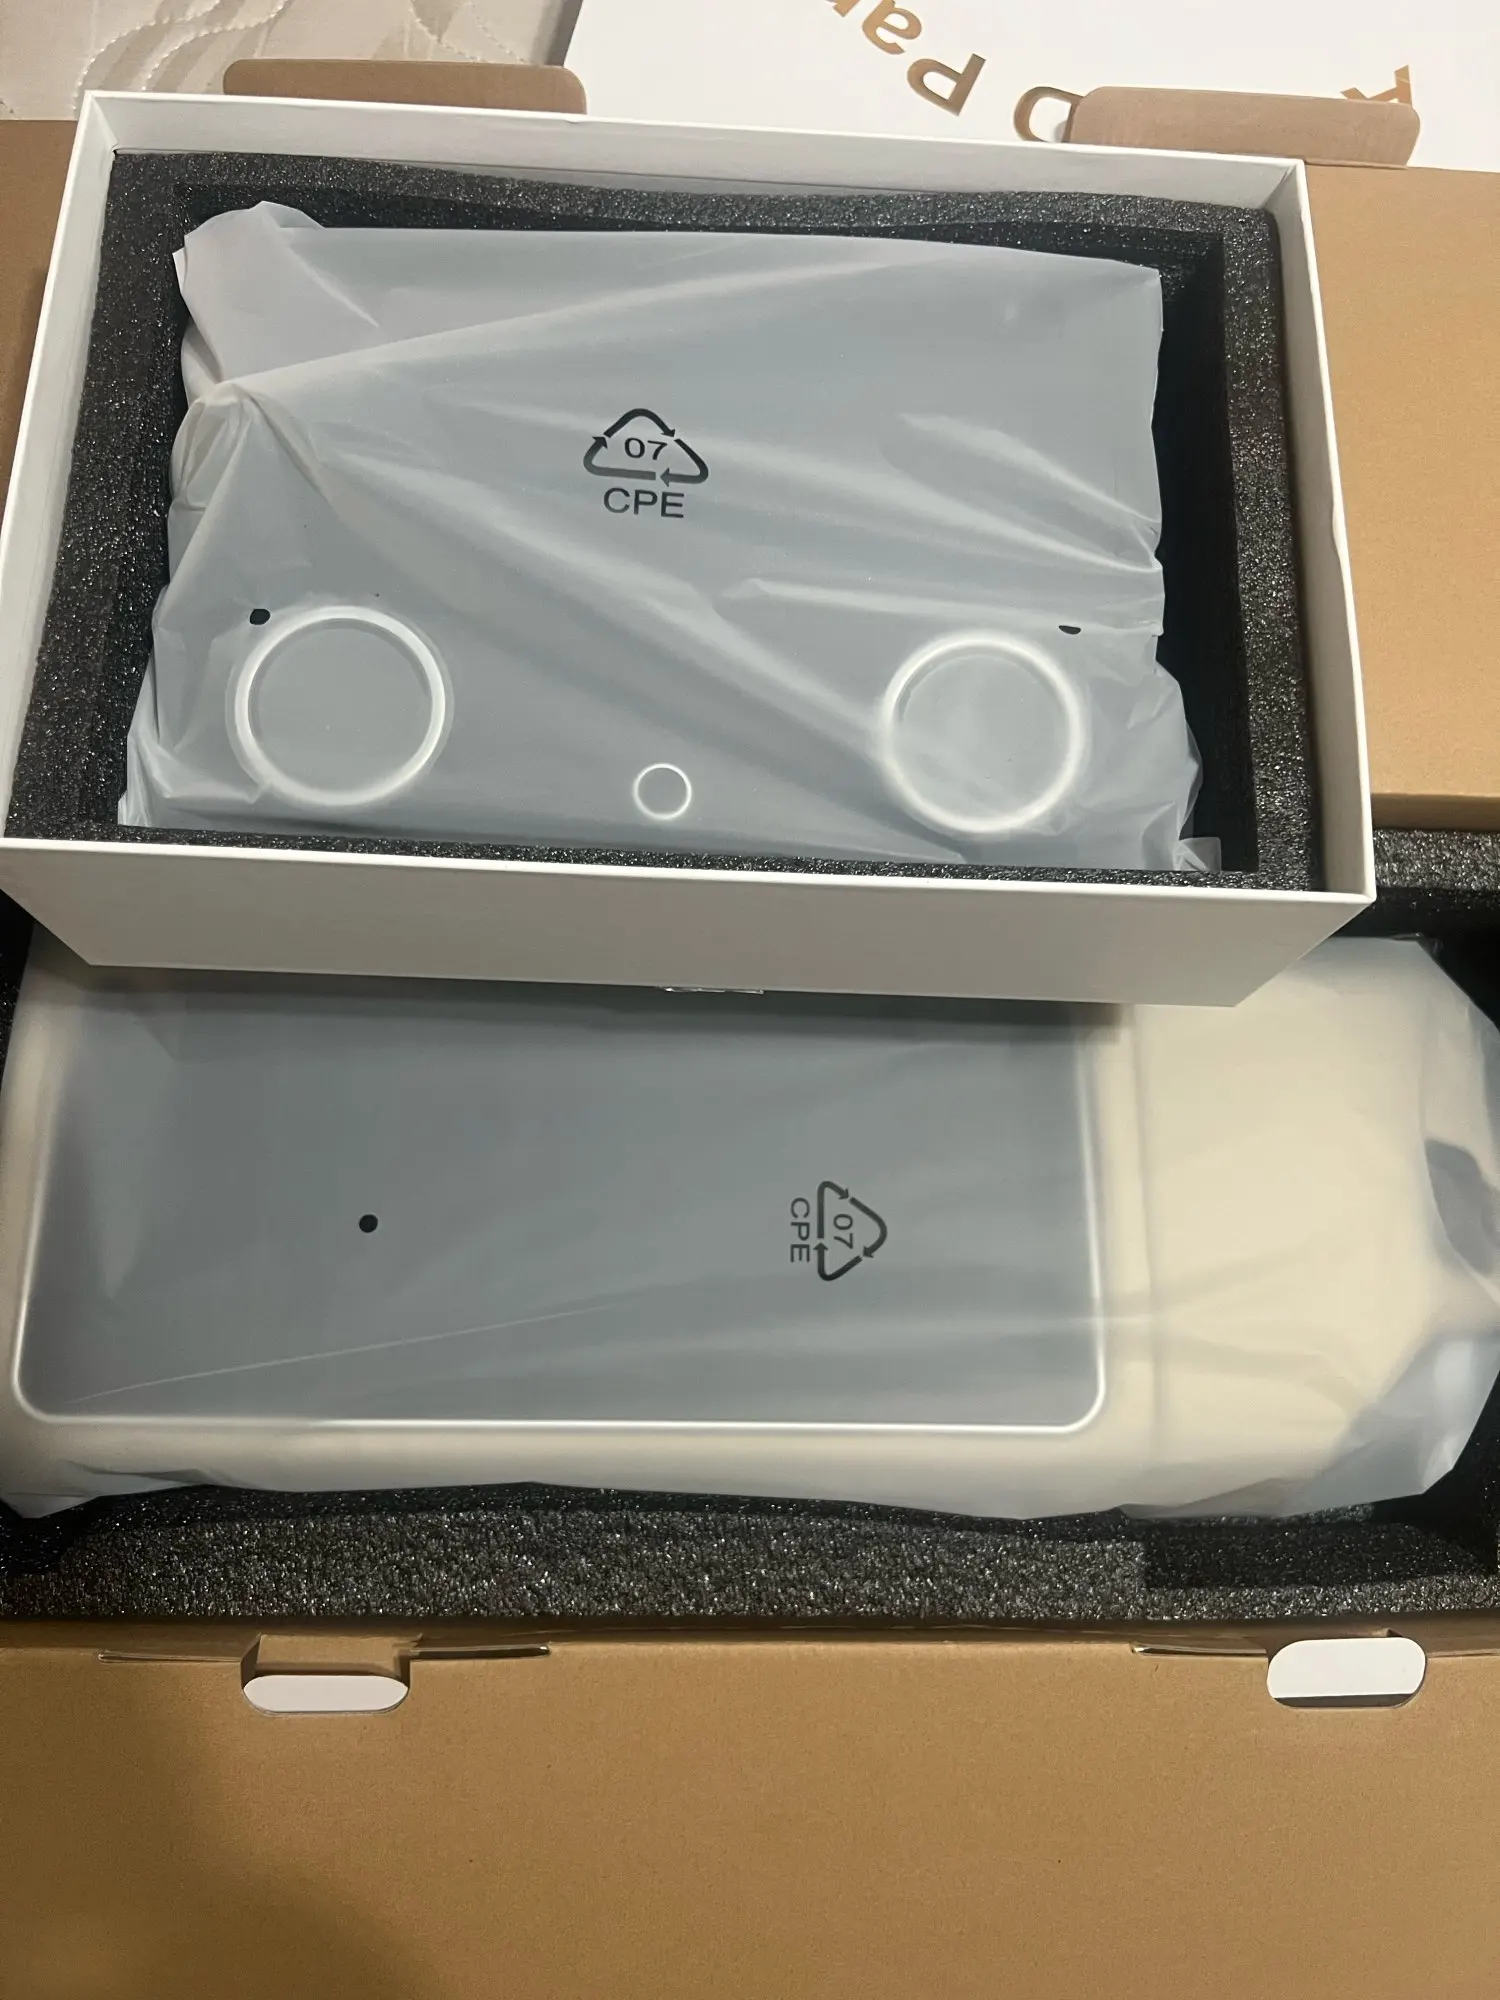
Inventory: Carplay module and wiring.
This includes the module, a wifi antenna, 2 LVDS (video) cables, the power cable, the sound cable, and a USB cable (no need to plug it in if using the wireless device).
For Wiring instructions please download here.
For install video please contact us support@carputech.com.
Please note: Please turn off the engine before starting the installation. It is strictly forbidden to connect the wires when the vehicle is on!
STEP 1: REMOVAL OF THE SCREEN
1. From the rear seat, remove the rubber tray by lifting out
2.

3.

4.

5.

6.

7.

8.

9.

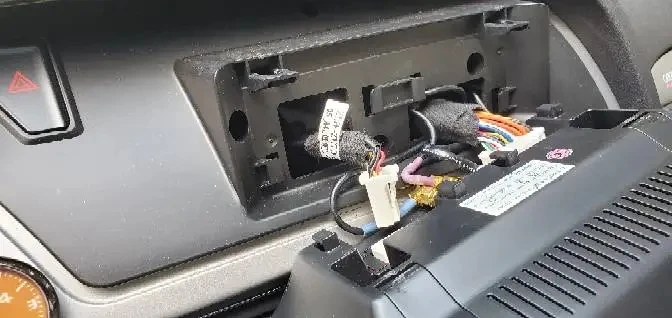
10. Slide out CD player system and disconnect all cables, Slide out screen and disconnect BLUE connector and LARGE connector.
11. Follow instructions in booklet, connect all cables from the car to the supplied harness. Your video cables is the blue cable from the back of the screen, NOT the blue cable from the back of the CD player system (they are the same connector, do not mix this up as then you will have no video).
12. attach velcro (supplied with kit) to the module and to the plastic piece behind the CD player (vertically), this is where you will place the module. Attach the supplied harness connections to the module, route the wifi antenna to the drivers side knee panel.
13. Place module behind CD player system mounting area, tuck all cords in.
14. Re-attach all cables to the CD player system and original screen - reverse process to put everything back together.
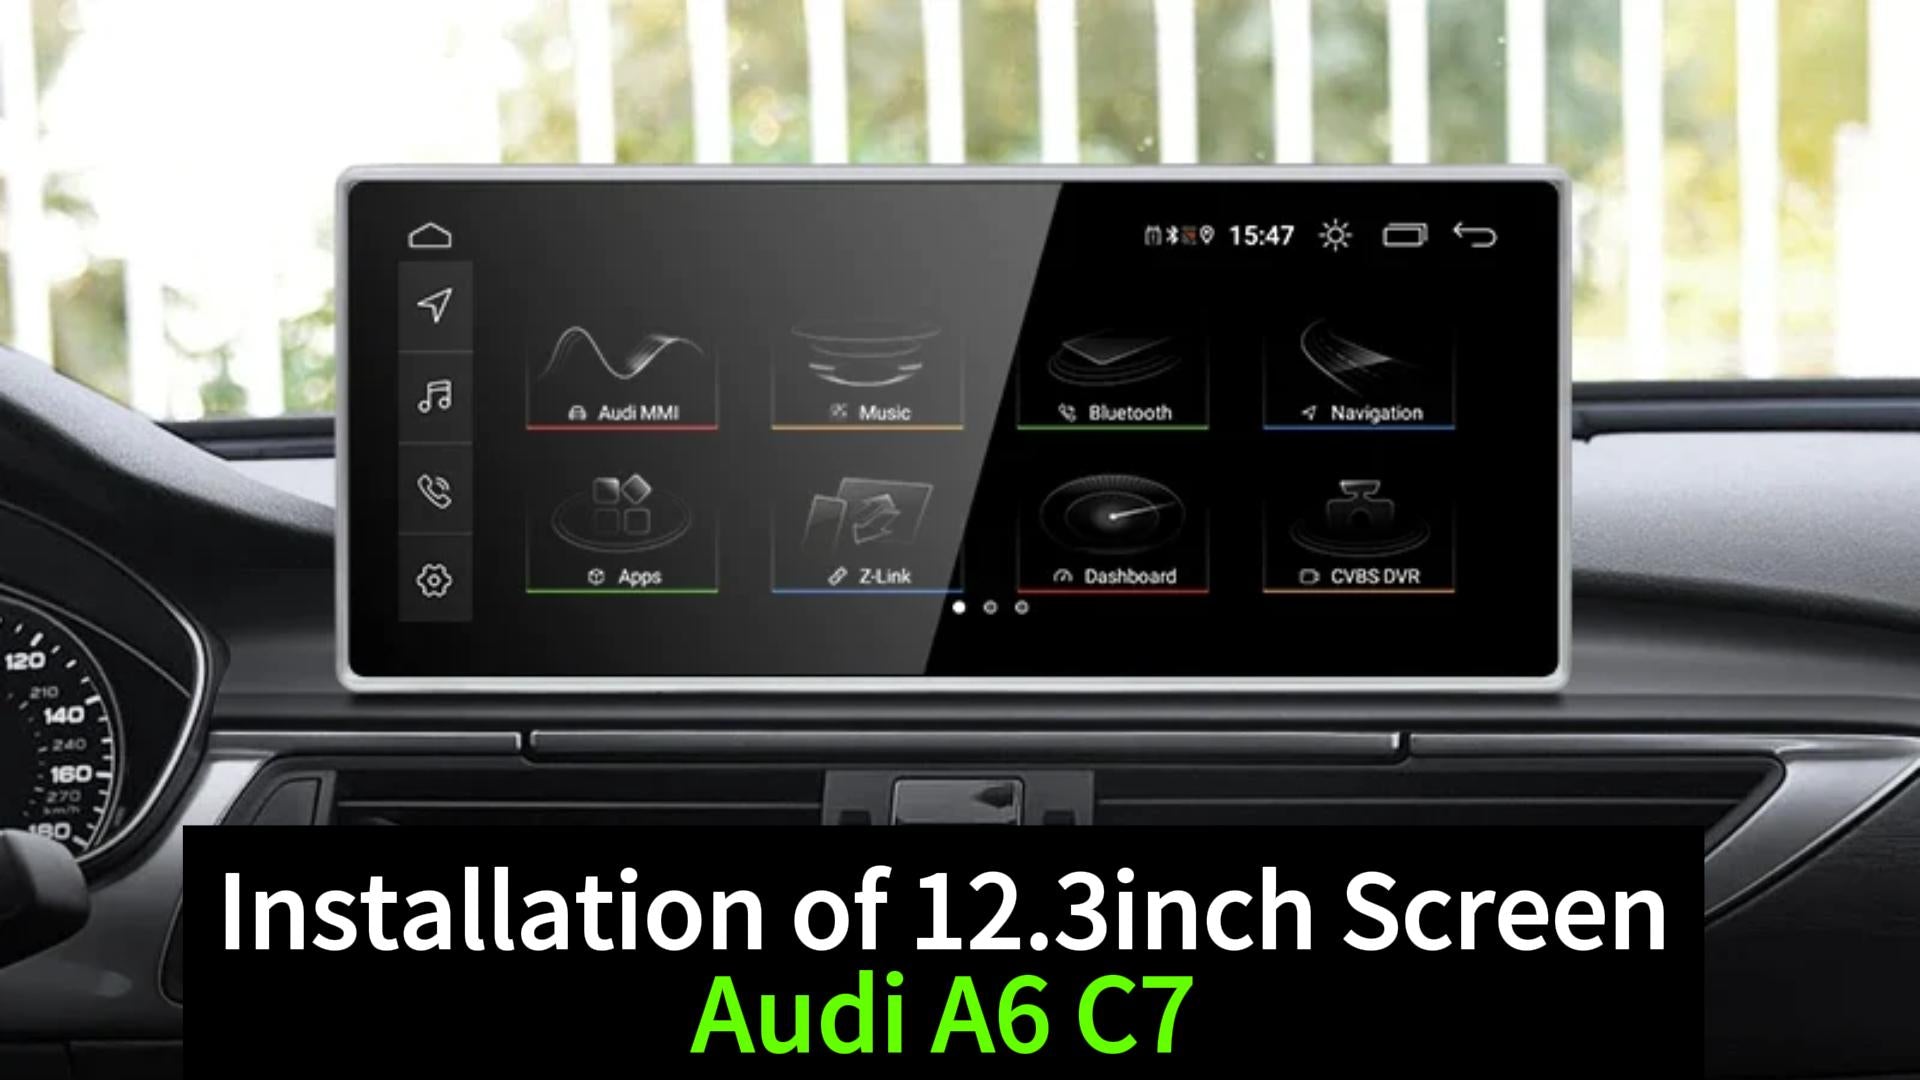
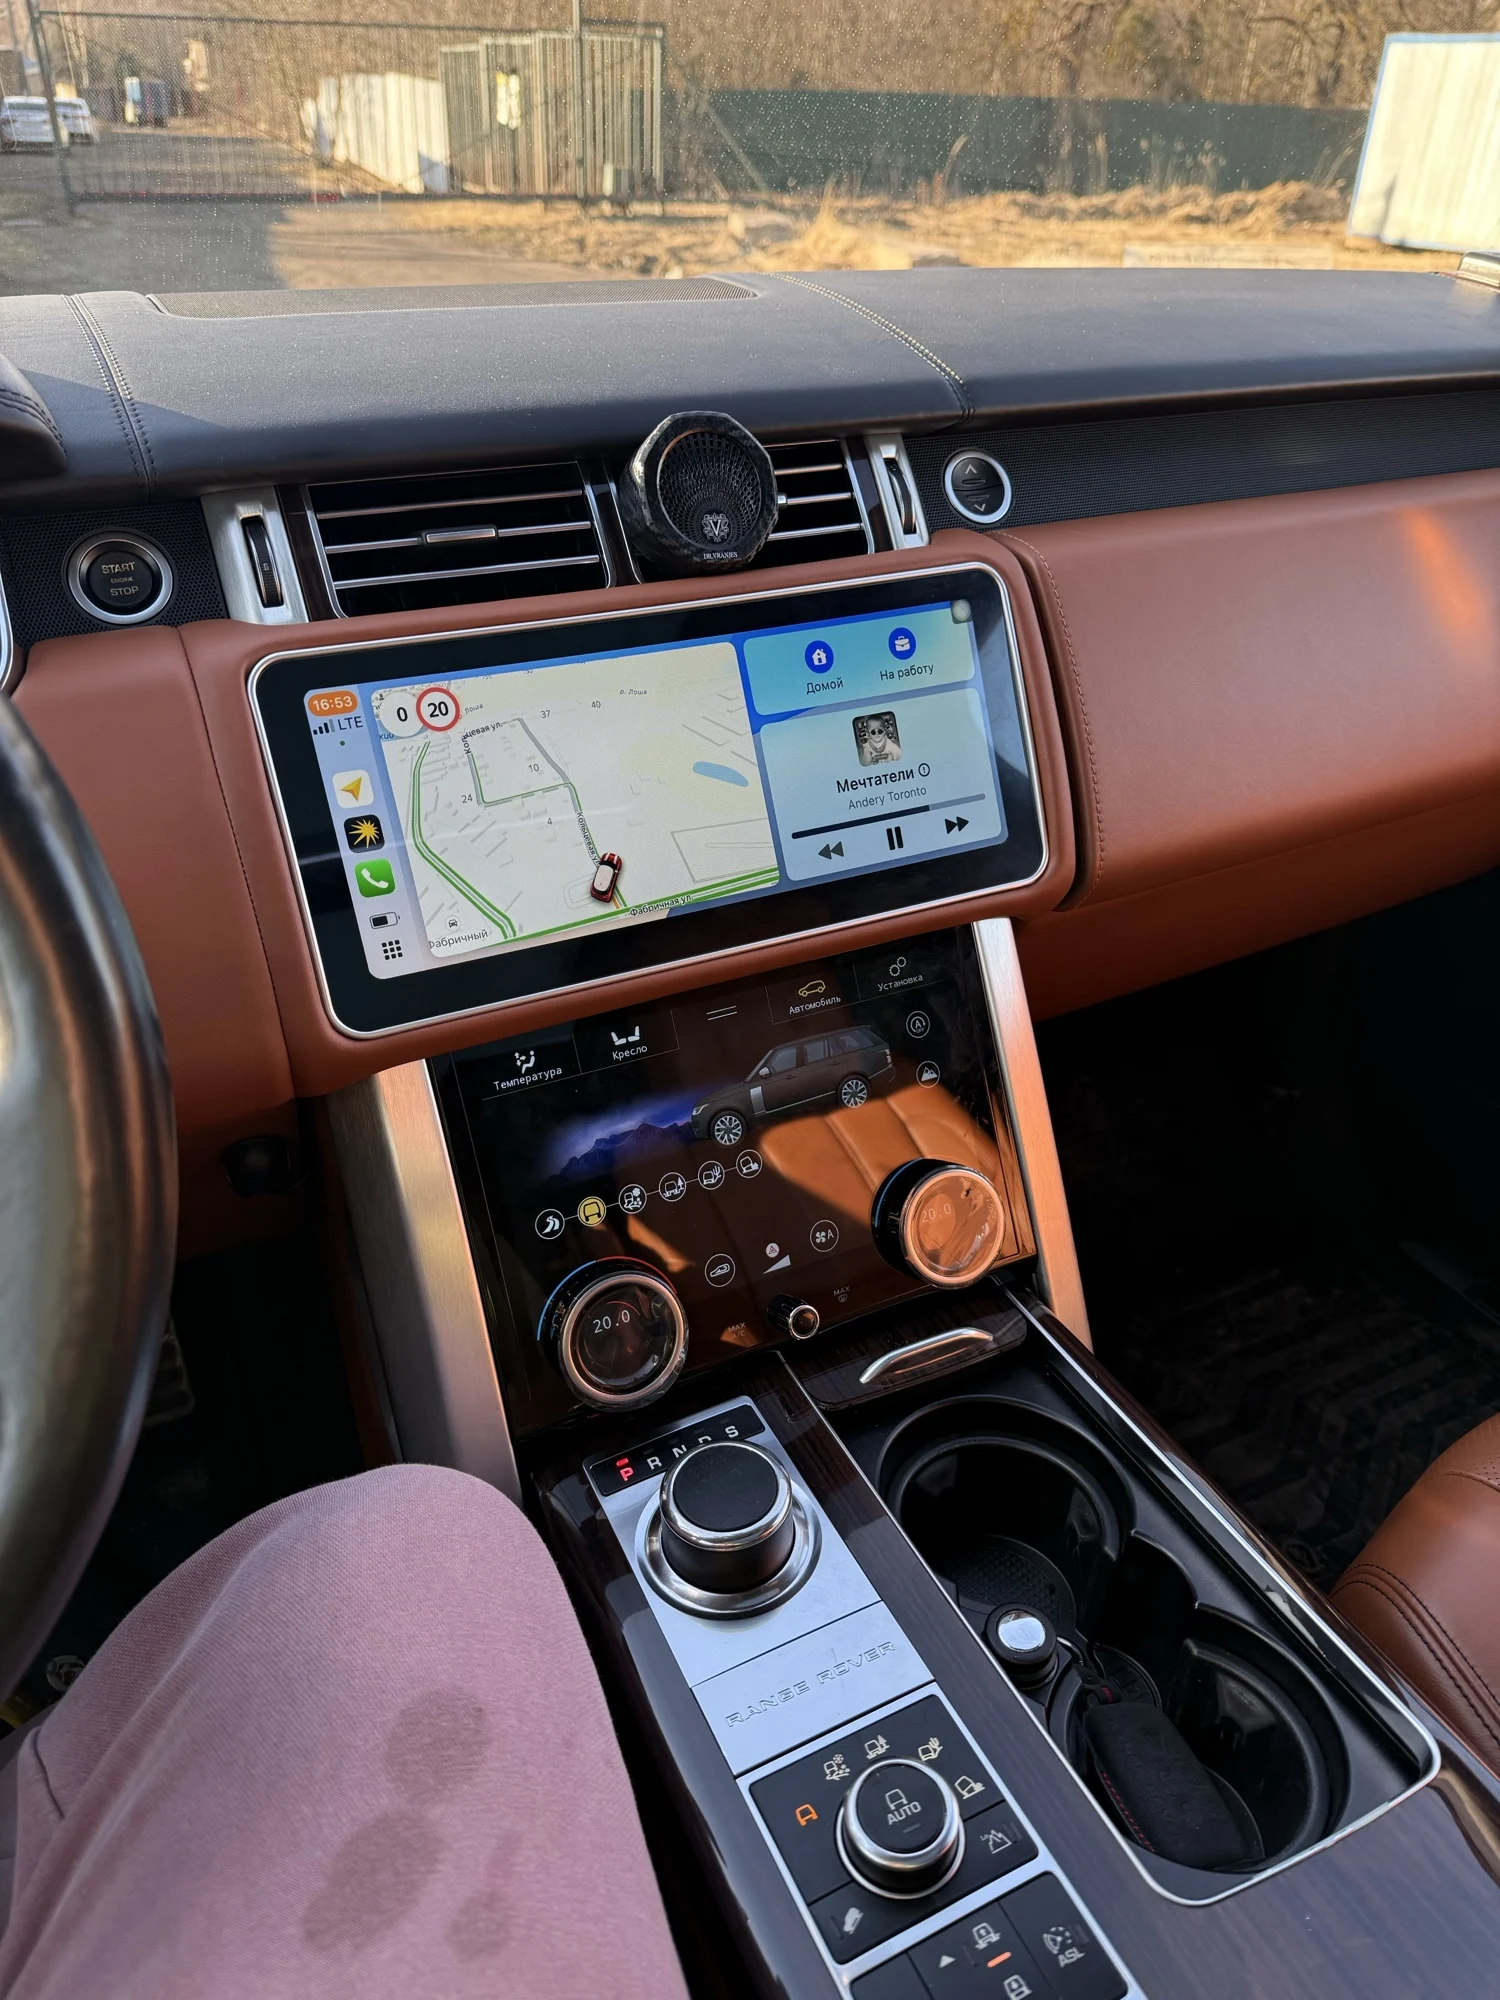
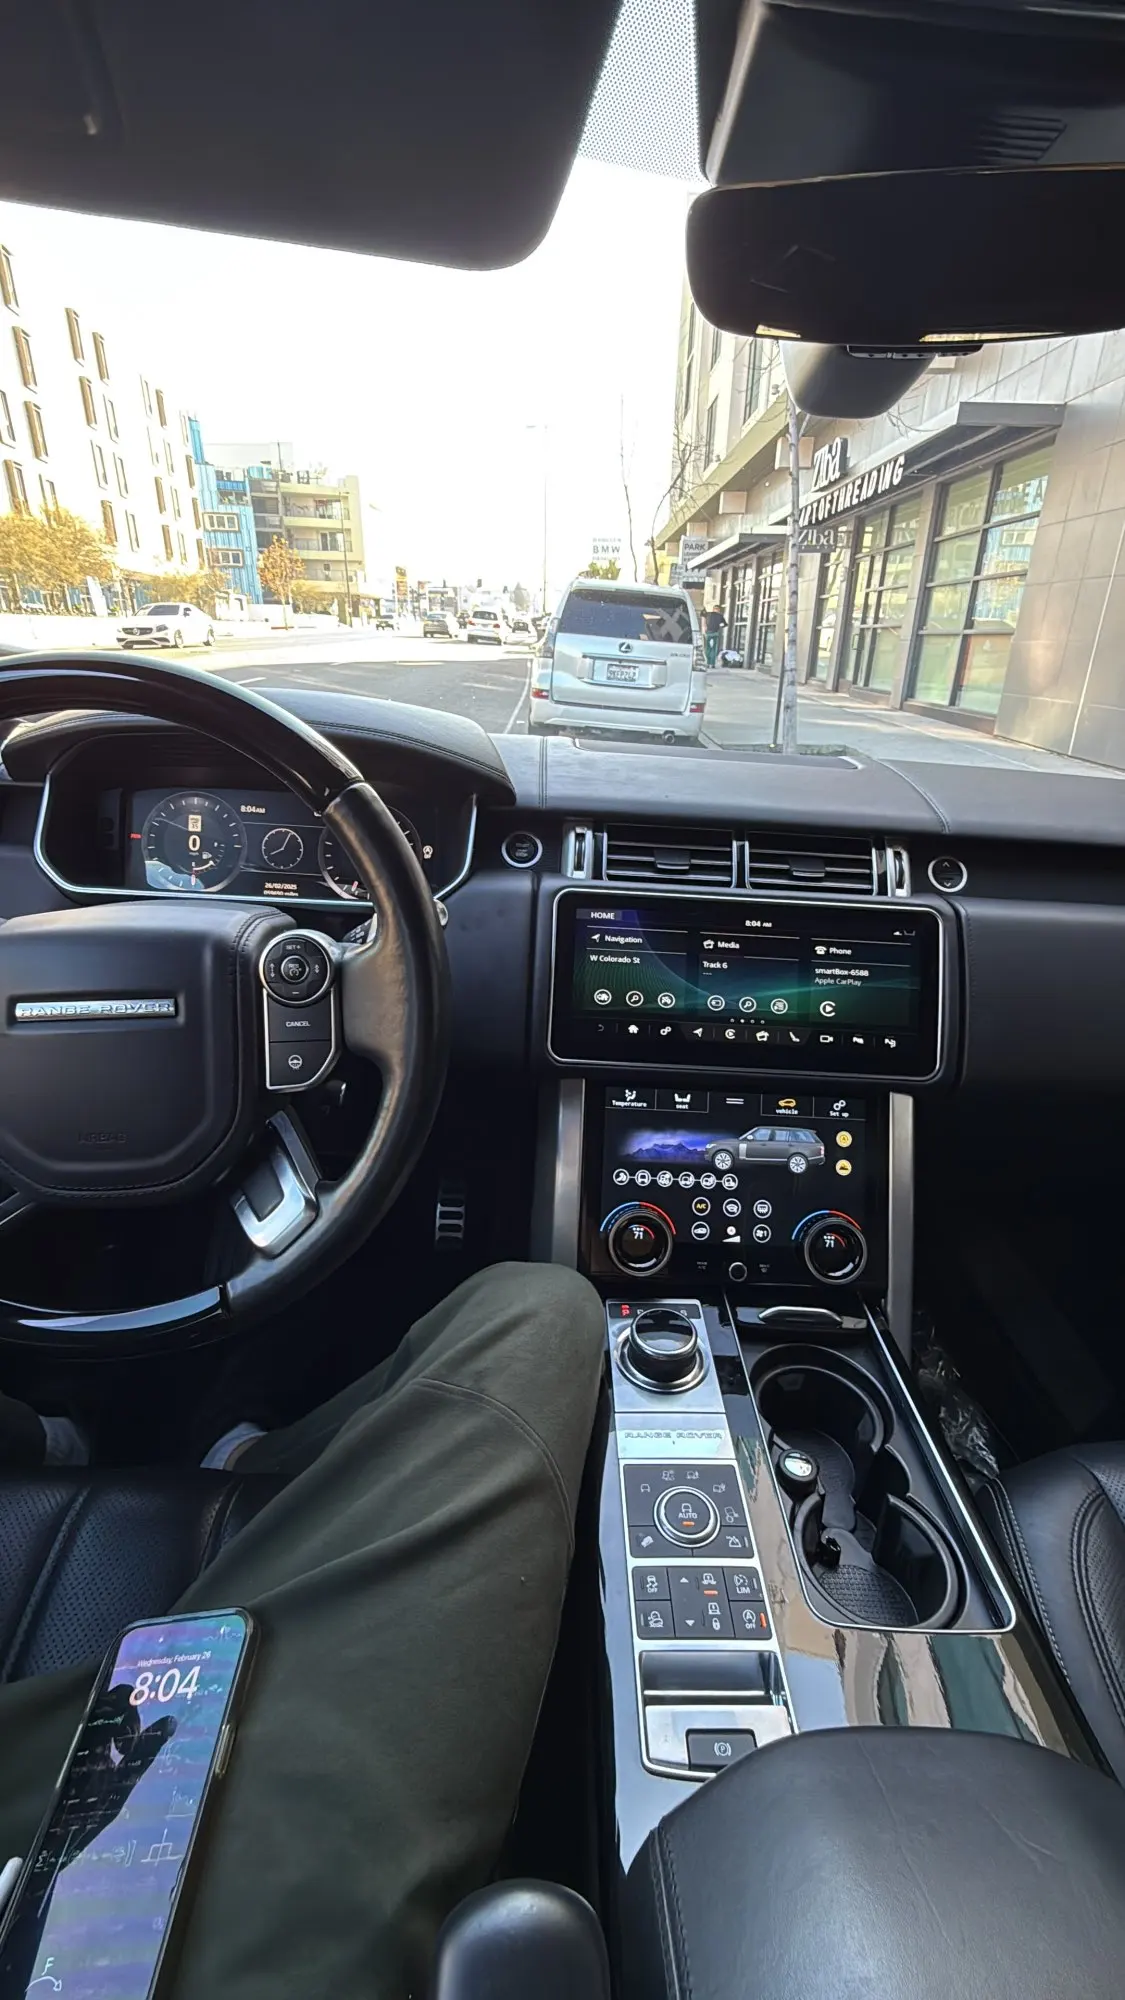
Here is how it looks: Original system, Nav info screen is blank:

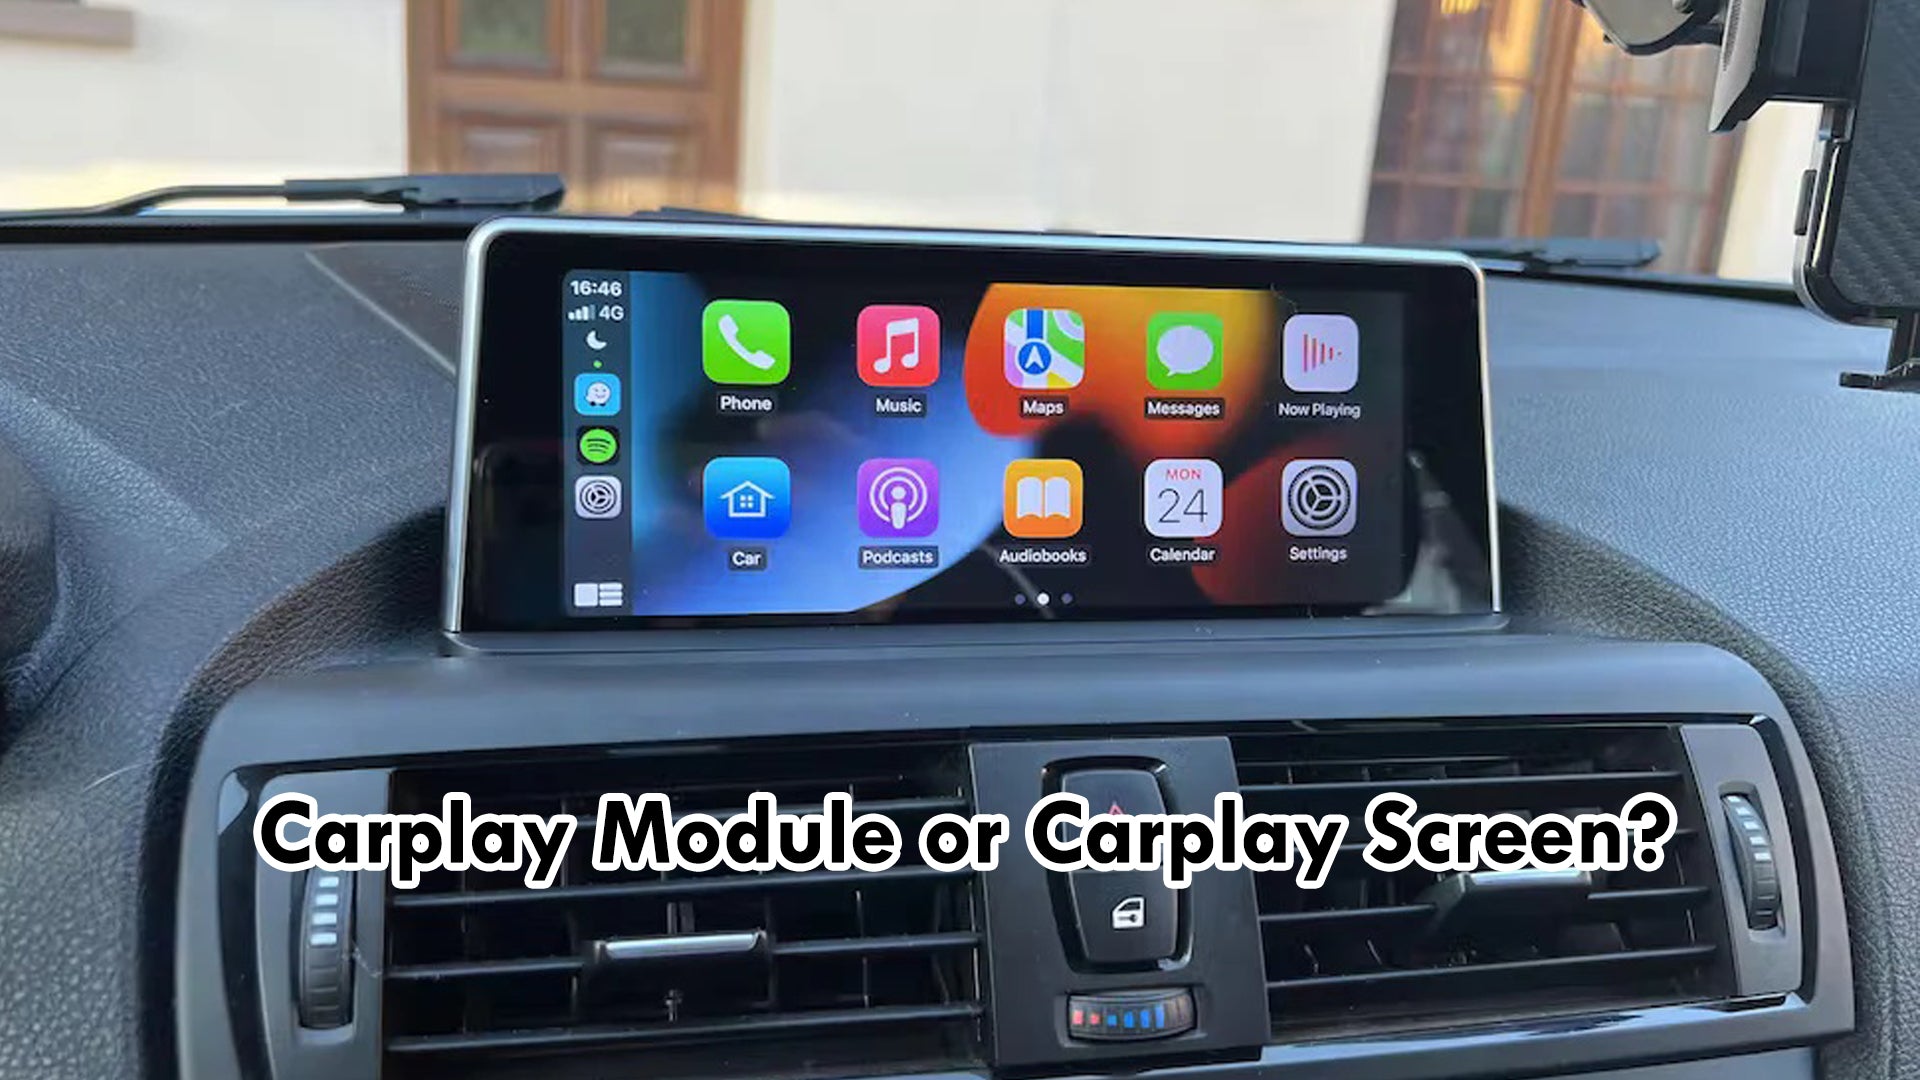
And here is android auto with google maps loaded


